Skip to content
Home
The Route
The Blog
Map
Trip Reports
Videos
Gallery
Hayduke
Beyond Utah
About Me
«
Gallery: Boulder Mt. to Moab — Part 1
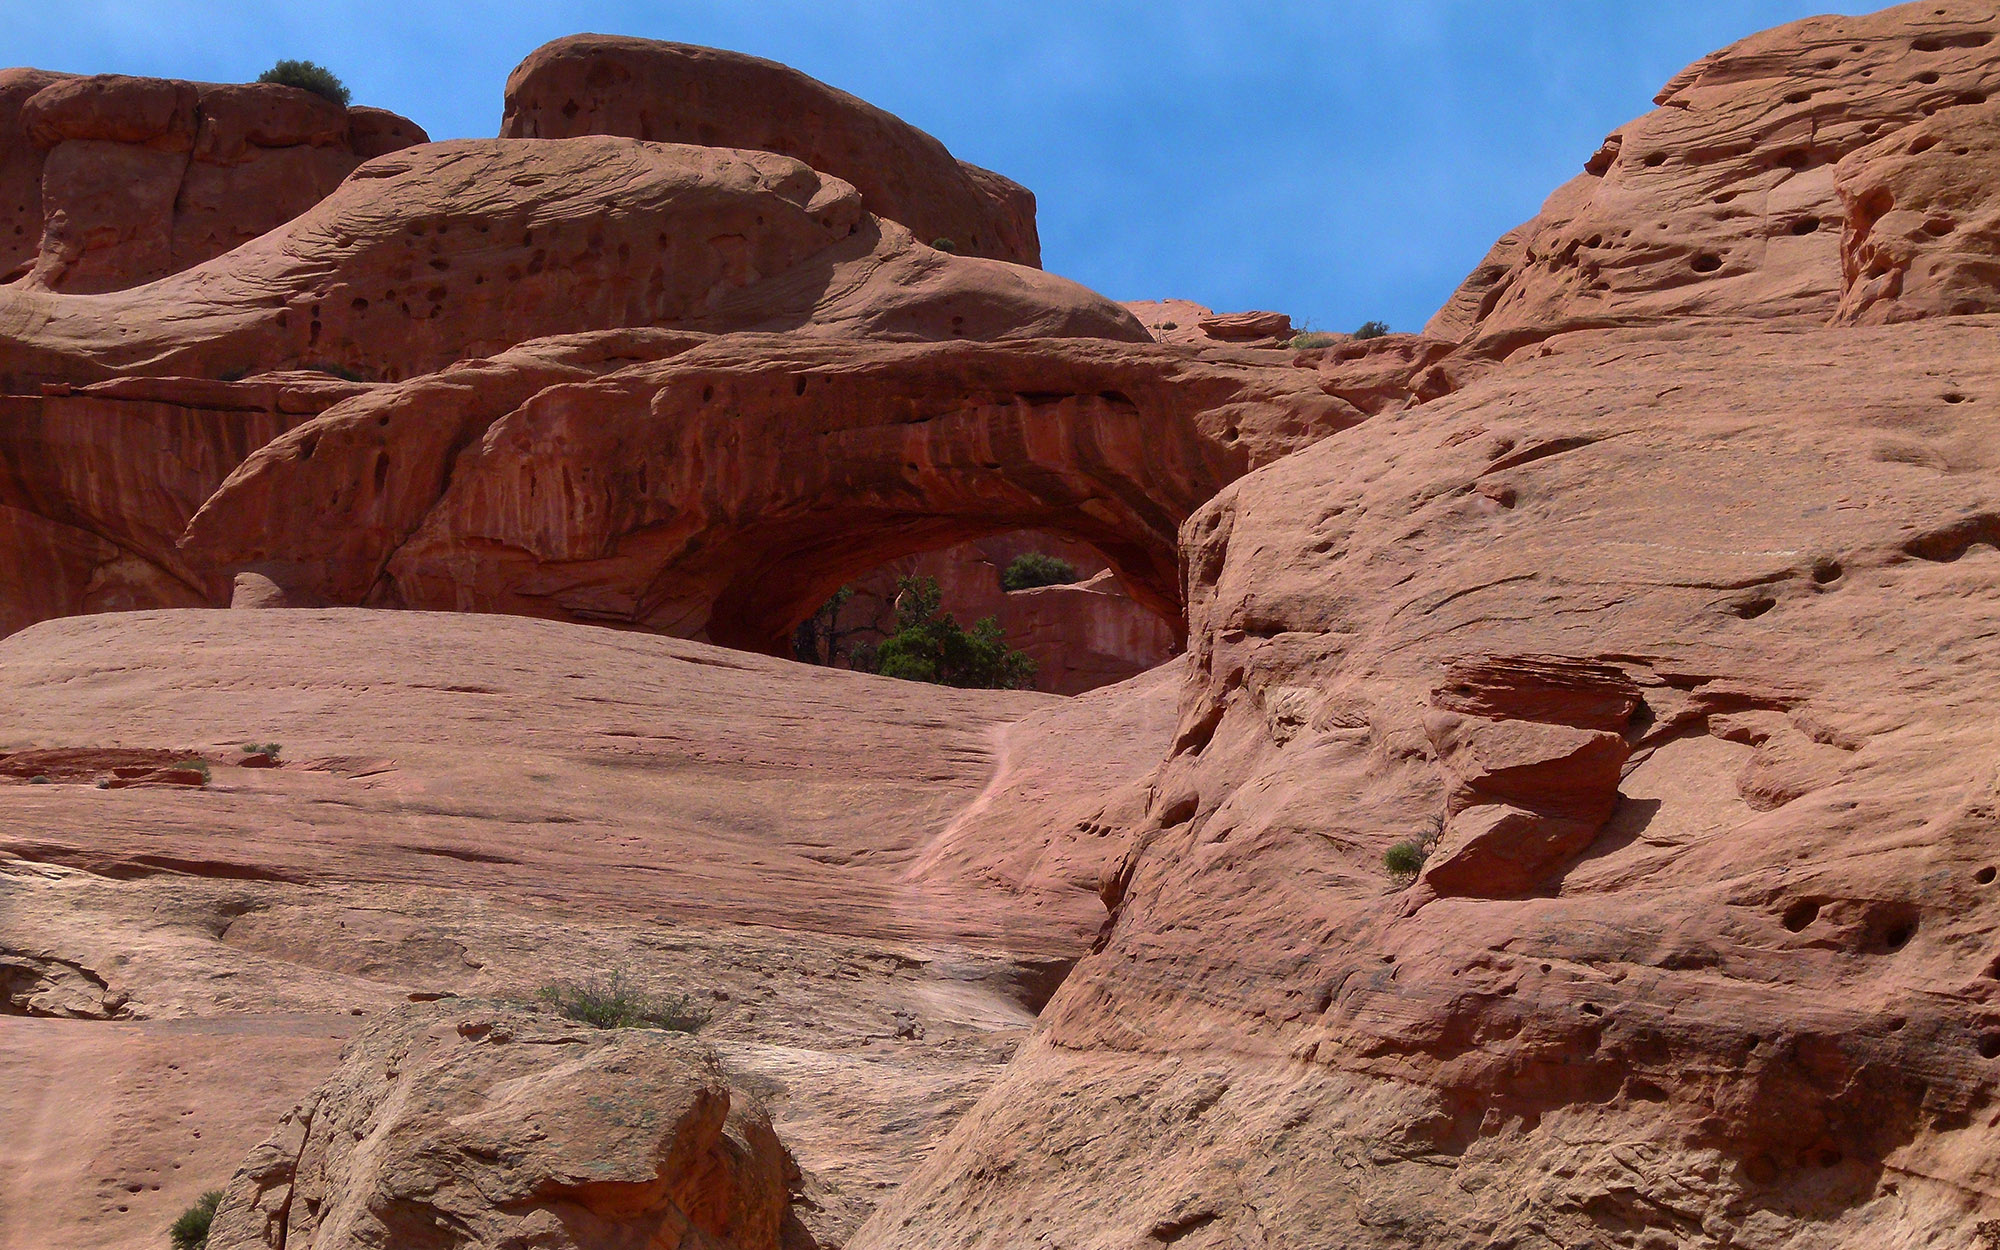
Shy Arch
By
Jamal
December 6, 2013
December 6, 2013
Full size is
2000 × 1250
pixels
Bookmark the
permalink
.
Dome Arch
Saddle Arch
Leave a Reply
Cancel reply


