Skip to content
Home
The Route
The Blog
Map
Trip Reports
Videos
Gallery
Hayduke
Beyond Utah
About Me
«
Hike Guide: Lower Muley Twist
IMG_8401
By
Jamal
November 30, 2016
November 30, 2016
Full size is
1920 × 1400
pixels
Bookmark the
permalink
.
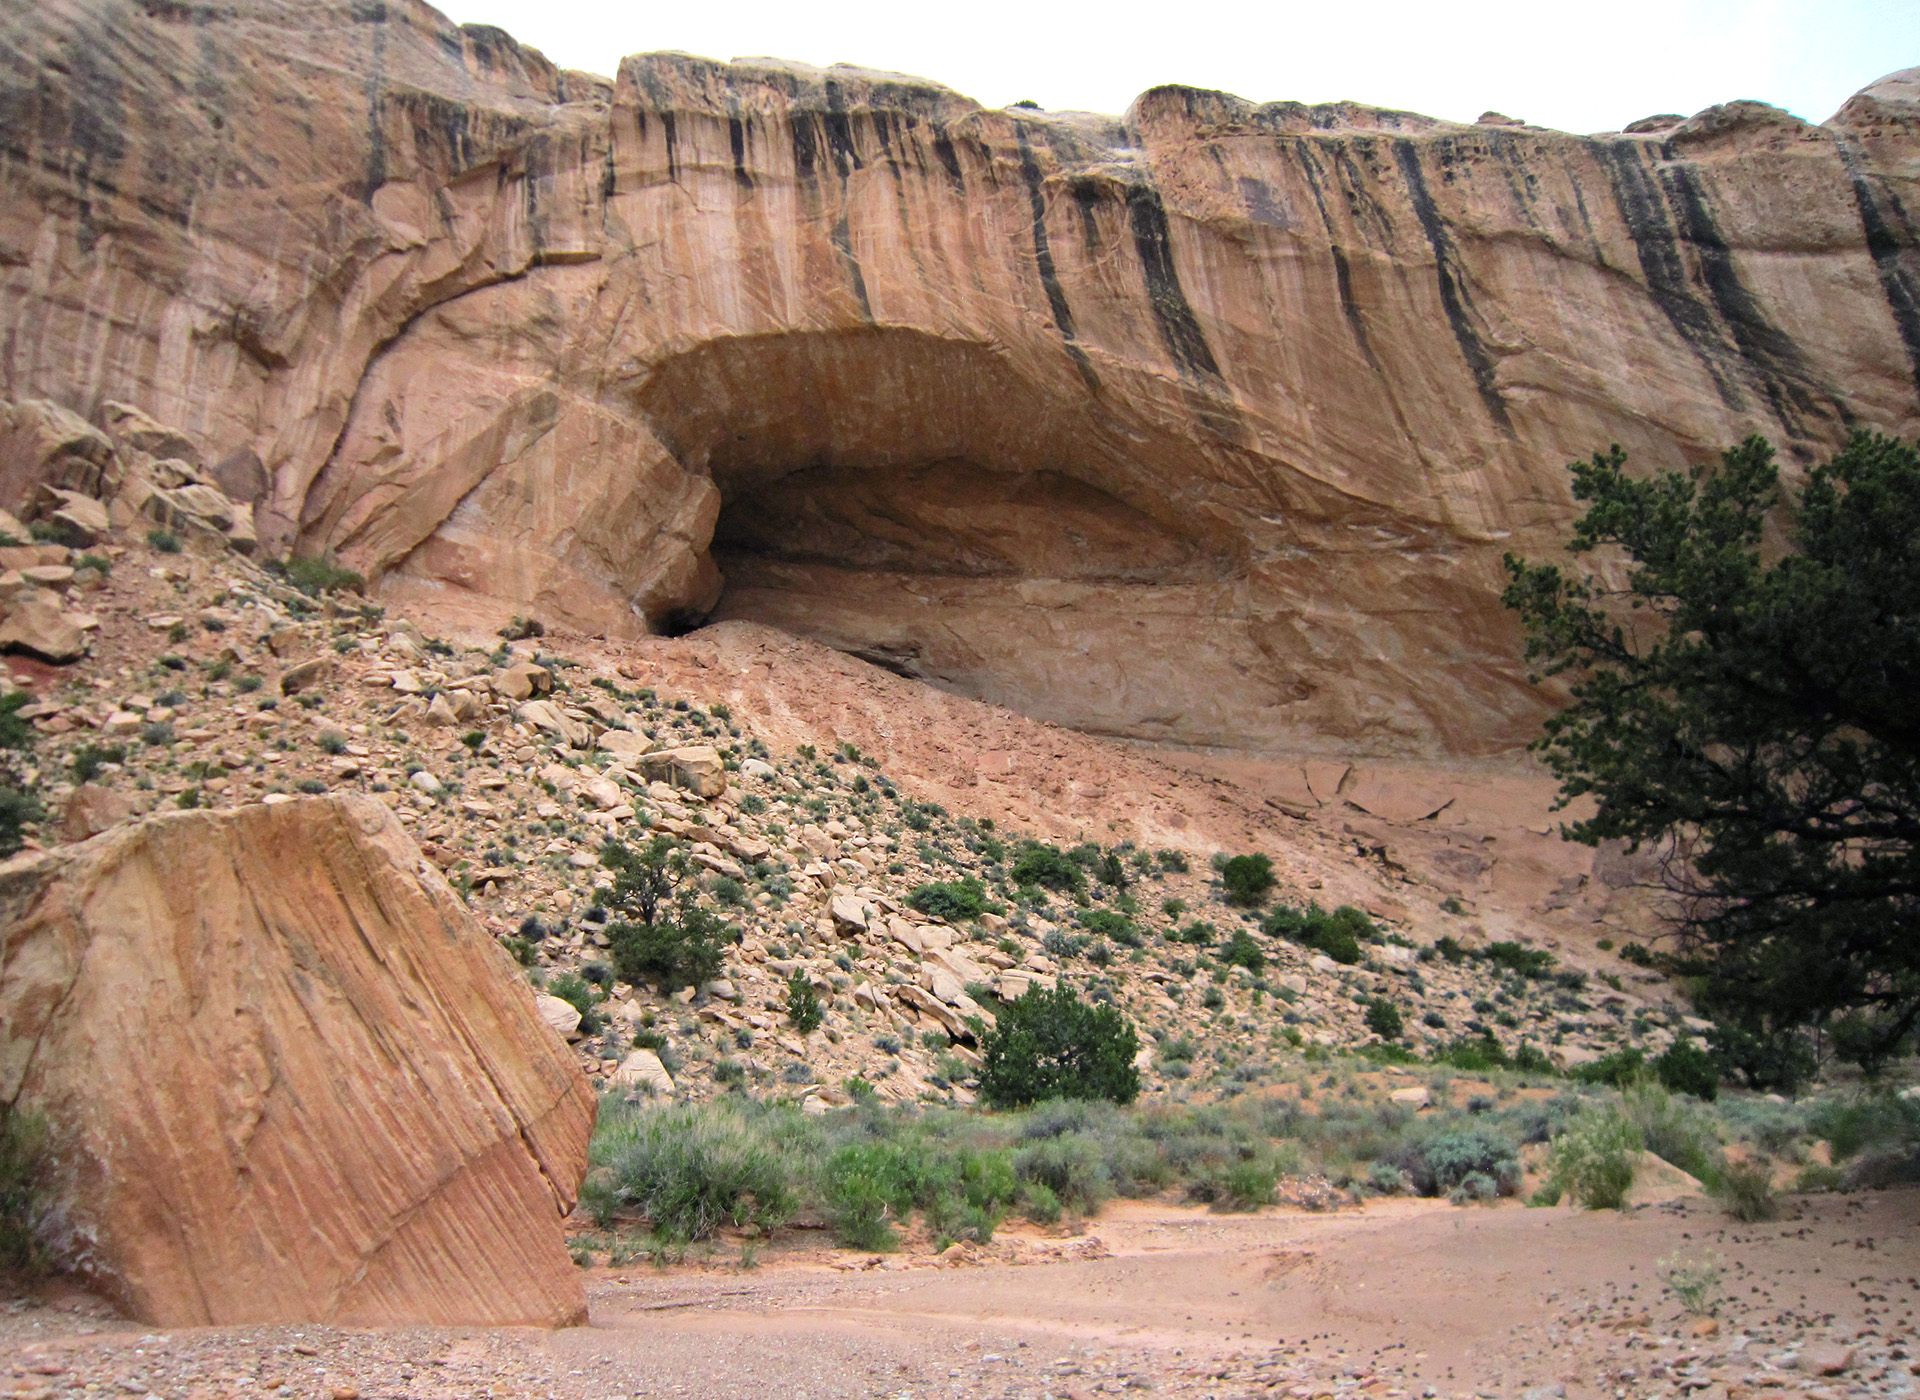
Sidewall Cave #2
IMG_8370
IMG_8409
Cancel Reply